Sourdough baking always seemed like a “big kitchen” skill—a mysterious process reserved for the die-hard bakers with ample counter space, fancy equipment, and a deep understanding of wild fermentation. But as someone who lives and travels fulltime in an RV, I learned to make this ancient bread in a very small kitchen, so I believe you can do it anywhere. My journey started back in 2021, and after a year of trial and error just trying to get a starter to do the right thing, I finally figured it out. If you’re eager to make your own naturally fermented sourdough—complete with real gut health benefits—let me show you how it’s possible, even if you’re short on space and brand new to baking.
Why I Chose Sourdough despite a tiny kitchen: our Focus on Gut Health
Sourdough isn’t just about delicious bread; for me, it’s about making something nutritious for my family. Real sourdough undergoes a fermentation process that helps break down gluten, making it easier to digest. This was a game-changer! I spent 12 months trying to make my starter gluten-free, not realizing that traditional sourdough fermentation already makes wheat easier to digest. When I was about to give up, a few things suddenly fell into place: I met a lady that also travels in an RV and makes sourdough in a tiny kitchen, I joined a challenge for old-fashioned kitchen skills, and I had an assignment in a college class that dealt with nutrition. I was quickly made very aware that I was going about all things the wrong way, and I decided to jump into the actual history and nutritional data surrounding sourdough. That’s when I learned a million things in a mere moment in time, and it all started to make sense: I needed to make sourdough with gluten-containing flour.
Getting Started: The Challenges of the Sourdough Starter regardless of kitchen size
When I began, I had no idea what to expect. I started with gluten-free flours, which repeatedly led to failures—mold, black water on top, or just no rise at all. It wasn’t until I switched to regular flour, accepted the natural breakdown of gluten during fermentation, and kept learning more about the process, that things started working. That first starter took a full year of trial and error to “perfect.”
I had nobody to guide me, which made troubleshooting difficult. Each failure taught me something new, though, and eventually, I learned a few tricks to keep the starter healthy. Here’s what I wish I’d known when I started:
- If your starter looks “off,” don’t panic. If you see a layer of liquid on top, it’s probably “hooch,” a harmless byproduct. Just stir it back in or pour it off.
- Beware of mold. If you see mold on top, it’s best to start fresh. In small kitchens, airflow can be limited, so it’s extra important to find a spot that’s warm but not too damp.
- Feed it regularly. For me, feeding every day was key, especially in those first weeks. Over time, I learned my starter’s “sweet spot” schedule, which kept it active and ready for baking.
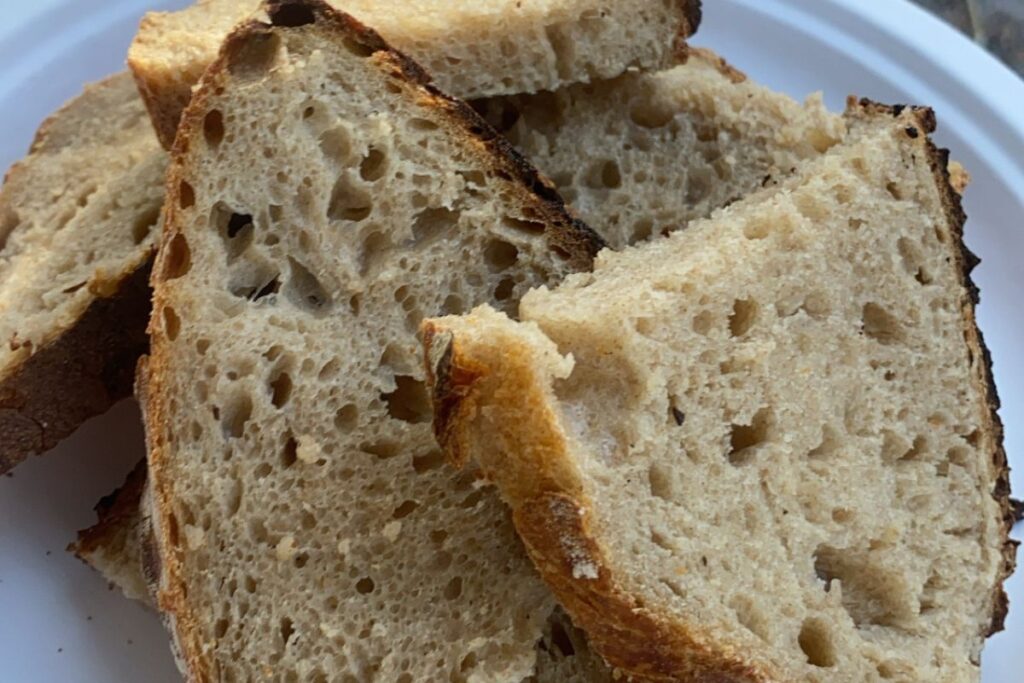
The First Loaf: Celebrating a (Slightly Flat) Success
After finally achieving a viable starter, my first loaf was… well, a little flat. But it was beautiful and mine. The satisfaction of baking my own bread was worth every single failed starter and flopped loaf along the way. There’s just something special about a loaf you’ve nurtured from flour and water into something nourishing. I remember getting especially excited because I wasn’t just a “starter experimenter.” I was a bread baker!
For those of you trying this, your first loaf may not look like a bakery masterpiece—and that’s okay! Sourdough is more about the process than the product, especially when you’re learning. Often the first loaves are not your best, but as your starter builds strength, it makes better bread. Everything gets better with age, right?
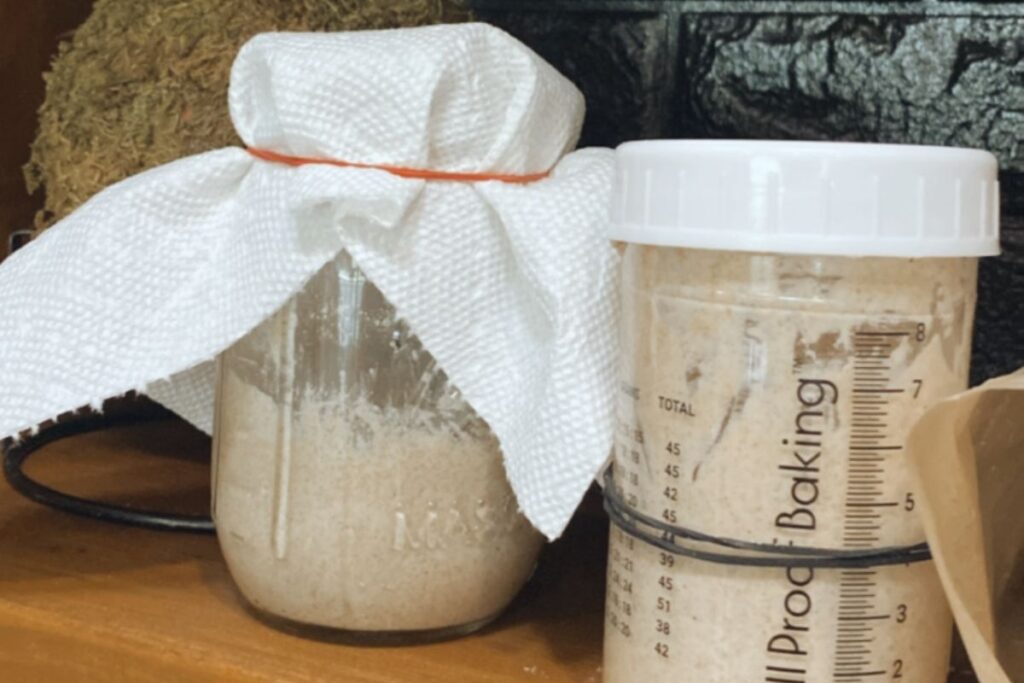
How to Make Your Own Starter
If you’re ready to jump into sourdough, start with these basics. You only need two ingredients: flour and water. Here’s a quick guide to making your own sourdough starter:
- Day 1: Combine 4 tablespoons of flour and 4 tablespoons of water in a jar. Stir well and loosely cover with a cloth.
- Days 2-5: Discard half and feed the remaining half with another 4 tablespoons each of flour and water each day. Keep it in a warm spot.
- Day 6+: Continue the process until you see bubbles, a tangy smell, and a “rise and fall” pattern—signs that your starter is alive and ready to bake with.
Over time, you’ll learn your starter’s unique rhythm. And if you’re in a small kitchen like I am, keep it simple with just one jar to avoid clutter.
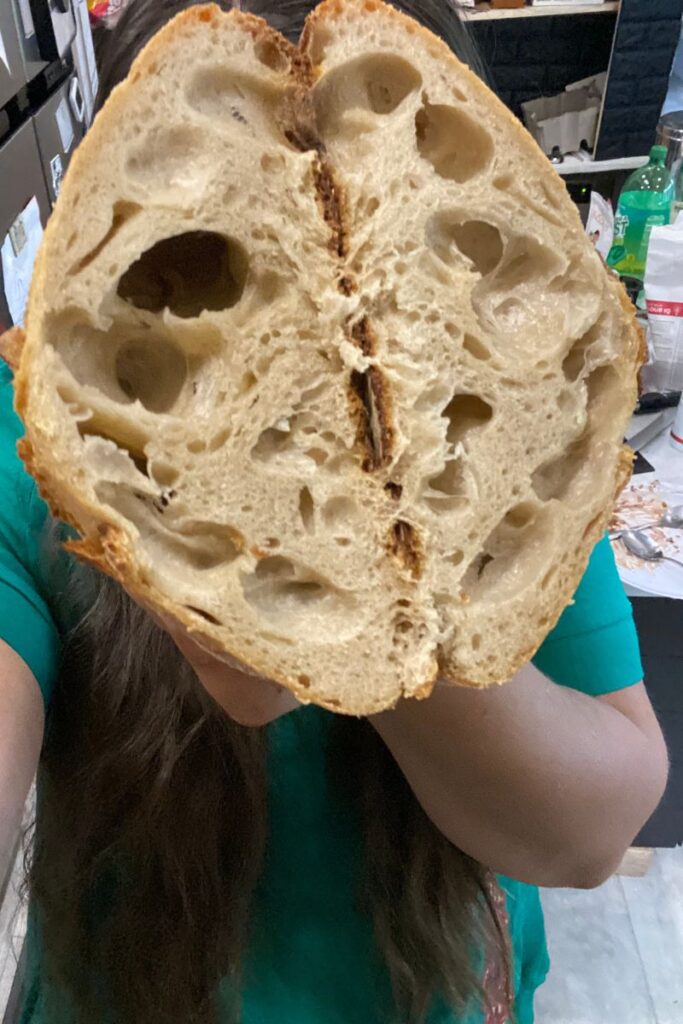
Tricks for Fluffy Sourdough in a tiny kitchen
One challenge of baking sourdough in an RV or small kitchen is managing space and equipment. I rely on a Dutch oven and a little hack that makes my loaves fluffier: placing the dough on my Instant Pot’s metal riser inside the Dutch oven, with a little water in the bottom to create steam. It gives the bread that perfect texture without needing a fancy steam oven.
If you’re trying to manage space and still want fluffy loaves, here are a few more tips:
- Use multi-purpose tools. My Dutch oven doubles as a baking vessel and storage pot.
- Steam matters. Adding a small amount of water at the bottom of the Dutch oven adds moisture, which makes all the difference.
- Warm temps are ideal. I’m a fan of a 77 degree RV. Hubs loves that (not really!) but it makes for great sourdough! When we’ve taken the temperature down more, the AC is constantly blowing in our tiny kitchen and it makes sourdough difficult.
Making Sourdough Work for Gut Health
For gut health, it’s crucial to ferment every sourdough recipe fully, including those using “discard.” I’m not a fan of discard recipes that add more fresh flour without a full fermentation, as this can increase gluten and starch content. Instead, I recommend fermenting the discard with the dough in the recipe, whether you’re making pancakes, crackers, or even pizza crust.
This slower approach improves the flavor and makes everything easier to digest—exactly why I fell in love with sourdough in the first place!
Integrating Sourdough Into Your Rhythm
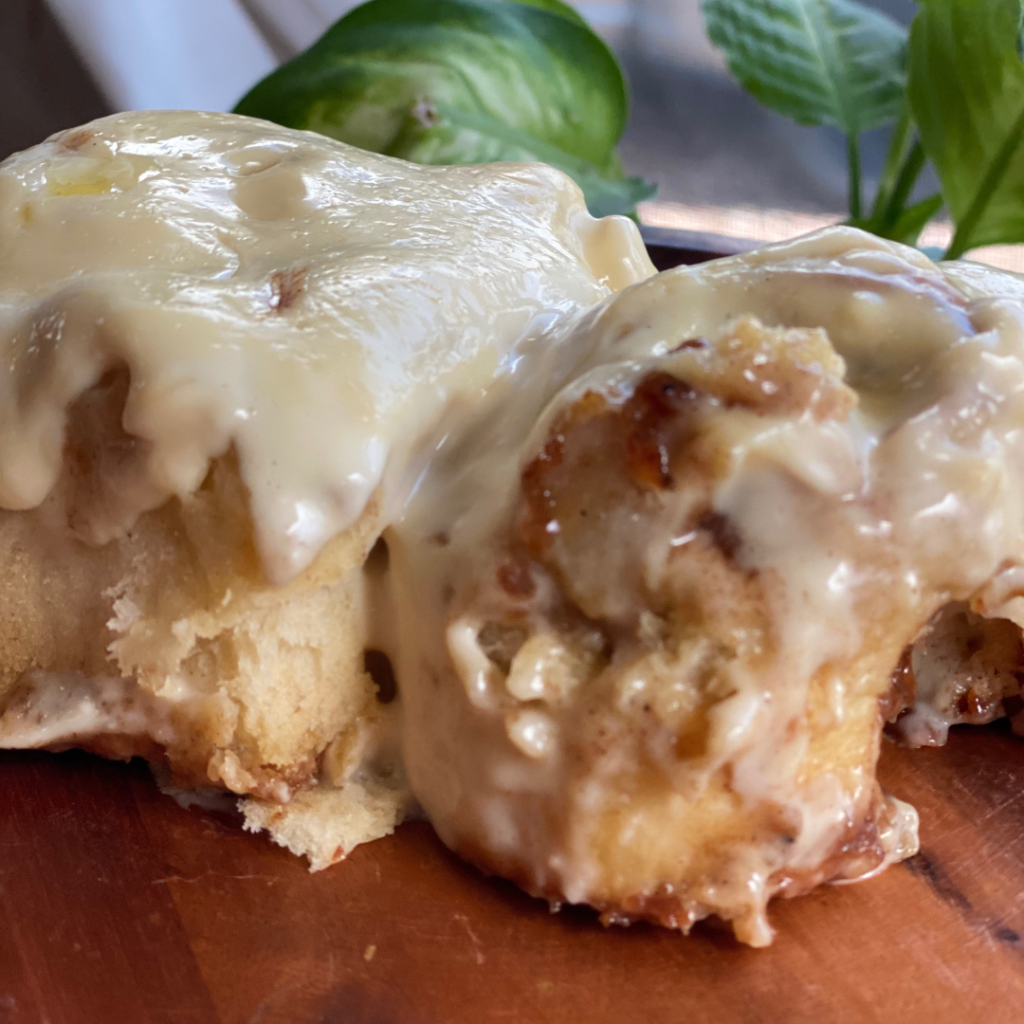
The idea of maintaining a sourdough starter in an already tiny kitchen may sound like a big commitment, but it can fit seamlessly into a weekly or even daily rhythm. When I’m in a good rhythm, I feed mine daily, bake two loaves weekly, and use the discard for things like bagels, cinnamon rolls, birthday cake, and waffles. Heck, I even make Paczki for Fat Tuesday. It’s become a cherished part of our routine, especially when we are in Florida for the winter where the humidity really makes the starter shine! It’s a cozy ritual that makes our RV feel like home no matter where we are parked.
Sourdough doesn’t need to dominate your life to be enjoyable. You can keep it as simple as one weekly loaf or integrate it more if your family loves it.
Final Thoughts: Why You Should Try Sourdough (Yes, Even in a Tiny Kitchen)
If you’ve been on the fence about sourdough because you’re short on space, intimidated by the process, or worried about getting it “wrong”—trust me, it’s worth trying. Every failed loaf and every attempt to get the starter just right brought me one step closer to mastering this skill. It’s more than just bread; it’s a self-sufficiency practice that connects you with tradition, health, and resilience. One of my favorite resources for all things sourdough is Farmhouse on Boone plus I love this book. This kit is a great one for getting started with some tools!